A border can look like pure ornament until the first dry spell hits and the birds stop singing at dawn. Gardens that are friendly to wildlife increasingly lean on landscaping guided by biodiversity: planting and shaping space so it feeds, shelters and connects living things, not just the eye. One feature does that job with unusual efficiency, and it’s small enough for most UK plots.
It’s called a dead hedge: a low, woven line of sticks and prunings that sits somewhere between fence, compost and habitat. Done well, it reads as intentional-textured, sculptural, softly rustic-while quietly acting as a survival net for insects, hedgehogs, frogs and the birds that follow them.
Why the dead hedge is having a moment
A dead hedge solves a modern garden problem: we generate a lot of “green waste”, then pay to have it taken away. Pruning piles, twiggy stems and last year’s spent perennials are exactly the materials wildlife uses to hide, nest and overwinter. The hedge simply stops you exporting that value off-site.
It also takes pressure off the tidy instincts that can strip a garden bare at the worst possible time. A hard-cut border in autumn might look neat, but it removes cover just as temperatures drop and food sources shrink. A dead hedge holds onto that mess in a controlled, attractive shape.
Think of it as a border that doesn’t bloom, but still feeds the garden.
What it actually is (and what it isn’t)
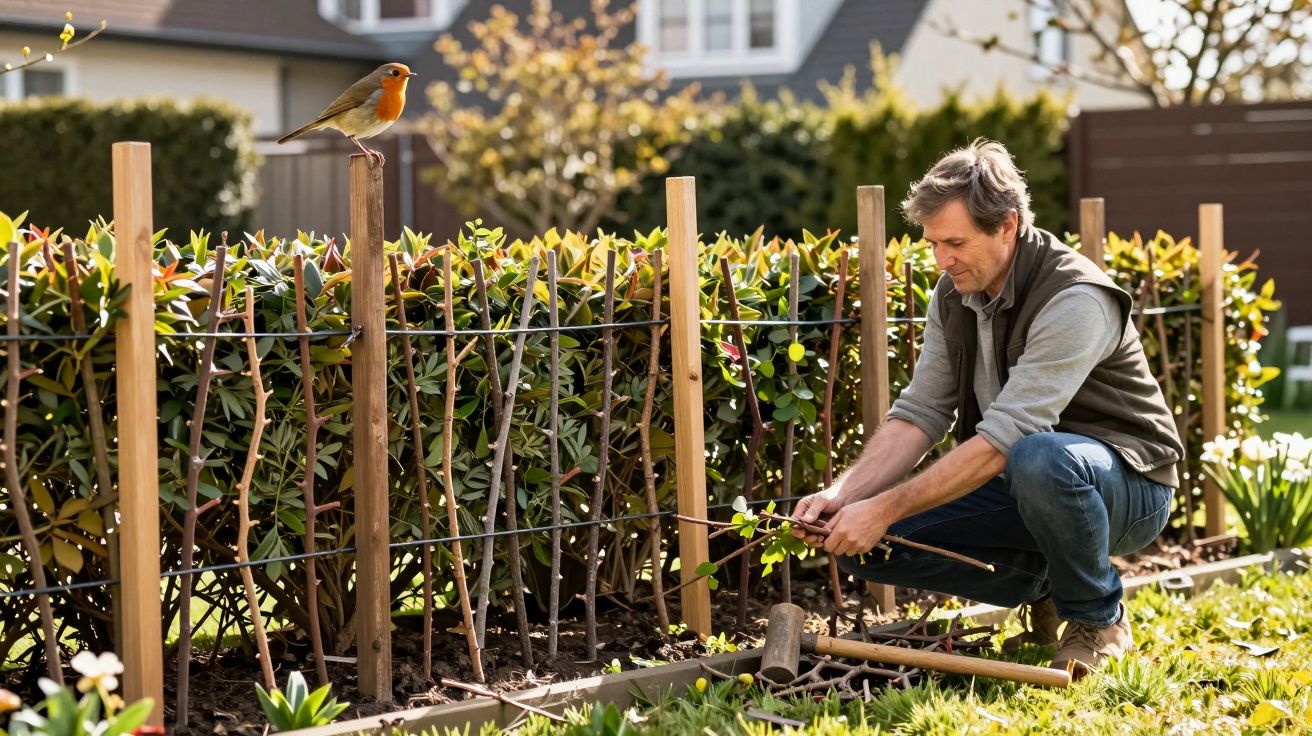
At its simplest, a dead hedge is two parallel lines of stakes with prunings packed between them. The stakes create the structure; the prunings create the density. Over time, it settles, composts slightly, and becomes a living edge: full of crevices, warm pockets, and safe routes through the garden.
It is not a bonfire pile with good PR. If it’s loose, it becomes windblown litter. If it’s too dense and wet, it becomes a slimy mound. The sweet spot is firm packing with plenty of air gaps-like a bird’s nest scaled up.
The wildlife wins you’ll notice first
You don’t need to be a naturalist to feel the change. The first signs are behavioural: birds using it as a staging post, robins dropping down to hunt, wrens vanishing into it like it’s a doorway. Then the garden gets quieter in the good way-less panic, fewer exposed sprints across lawn, more confident foraging.
The hedge also becomes a “soft corridor”, especially in fenced urban gardens where wildlife struggles to move safely. Even a three-metre run along a boundary gives small animals cover to travel between feeding and nesting spots without crossing open ground.
Common guests include:
- ground beetles and spiders (free pest control, the non-glamorous kind that works)
- solitary bees using hollow stems nearby
- frogs and toads in damp bases, especially if you have a pond
- hedgehogs using it as daytime cover and nesting material source
How to build one in an afternoon
You can do this with almost no shopping. The key is to build it like a system, not a heap: a tidy outside, chaotic inside.
What you’ll need:
- sturdy stakes (hazel, chestnut, or treated timber posts)
- a mallet and garden twine
- prunings: twiggy stems, bramble (handled carefully), spent perennials, small branches
- optional: a few thicker logs for a stable base
Step-by-step: from prunings to a proper feature
- Choose a spot that helps wildlife move. Along a fence line, at the back of a border, or as a divider between “wild” and “kept” areas works well. Avoid blocking known hedgehog routes or access points.
- Set two parallel lines of stakes. Space them 30–50cm apart, with stakes about 40–60cm apart along the line. Aim for a final hedge height of 60–120cm: high enough for shelter, low enough to look intentional.
- Start with a rough base. Lay a few thicker sticks or short logs to lift the structure slightly off soggy soil. This reduces rot and creates drier cavities.
- Pack in prunings, butt ends aligned. Push material in firmly, alternating directions. Keep the outside face neat by placing straighter sticks along the edges like a woven basket wall.
- Cap with finer material. Think of it as thatching: small, flexible stems on top reduce wind scatter and make the whole thing read as “designed”.
- Top up when you prune. It will settle. That’s normal. Add more material a couple of times a year and it becomes a long-term feature.
If you want it to look more like garden craft than garden compromise, run a line of twine between stakes as a visual guide, and keep the ends squared off rather than tapering into a messy tail.
Getting the balance right: beauty versus decay
A dead hedge is most attractive when it has a clear outline. The inside should be chaotic; the silhouette should be calm. That’s the trick that stops it reading as neglect.
A few small design moves help:
- Repeat it. Two shorter dead hedges echoing each other look deliberate, like matching planters.
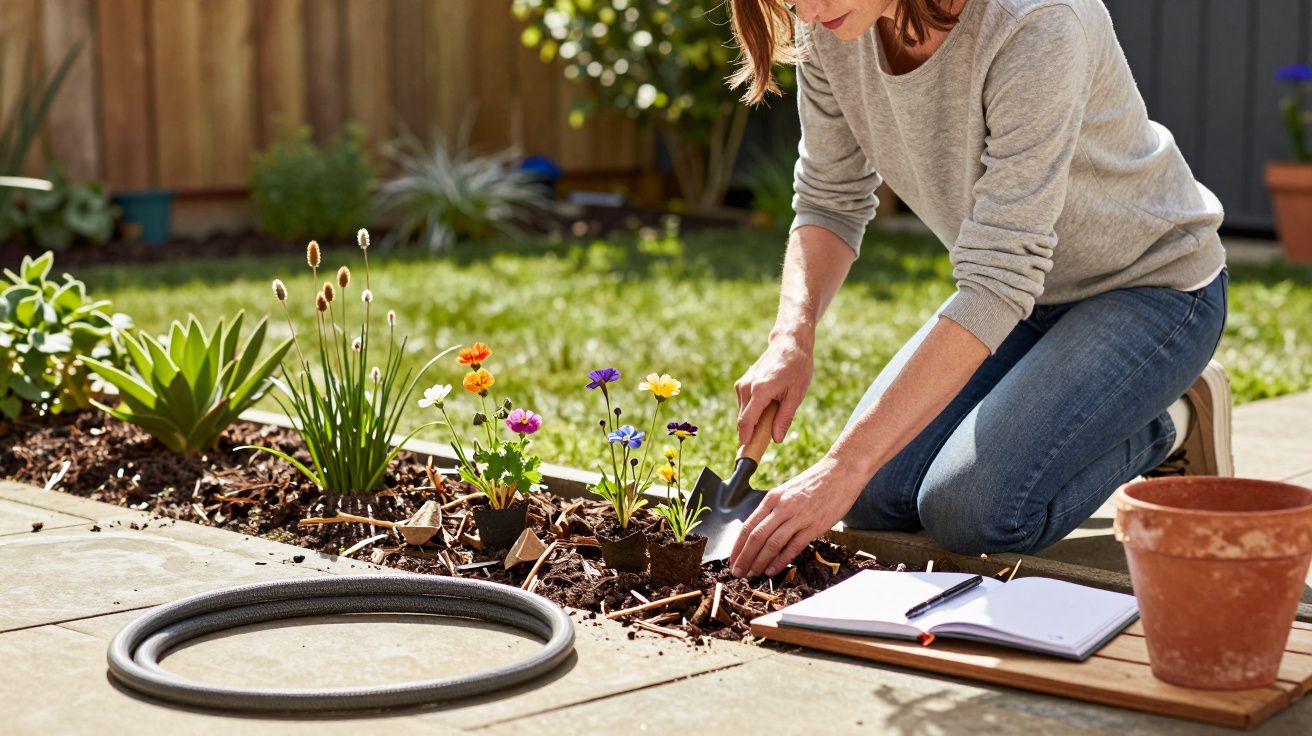
- Plant into the edges. Thread snowdrops, primroses, or hardy geraniums along the base so it softens into the border.
- Use it as a backdrop. Put finer-textured plants in front (grasses, salvias, ferns). The contrast makes both look better.
- Keep a “clean side”. If one face is visible from a patio, make that the tidier face and let the far side be wilder.
And accept that it changes. The colour shifts from fresh cut to silvery brown. Fungi may appear in damp spells. That’s not failure; that’s function.
The mistakes that make it fail (and how to avoid them)
Most dead hedges don’t “go wrong”; they just get built like a dump. These are the usual slip-ups:
- Using only soft, wet material. A hedge made of floppy annuals collapses into sludge. Mix in woody prunings for structure.
- Building too tight. If it’s packed like a brick, it turns anaerobic and smelly. Aim for firm packing with visible gaps.
- Placing it in the wrong microclimate. Under a dripping conifer line, it can stay soaked. In a scorchingly exposed spot, it can become brittle and blow apart. Choose somewhere moderated.
- Forgetting access. Leave room to top it up and to trim around it. Wildlife-friendly shouldn’t mean impossible-to-maintain.
The best version looks like a boundary, behaves like habitat, and feels like you meant it.
A simple way to judge if you’ve built a good one
Stand back and look at the outline. If you can imagine it in a photo without needing to explain it, you’re there. Then do the practical test: give it a gentle push. If the stakes hold and nothing rains out, it’s stable.
You’ll know it’s working within weeks. Birds will land on the stakes. Spiders will stitch the gaps. And when you lift a fallen stick in spring, the underside will be busy-proof that the “waste” you didn’t throw away became someone else’s winter.
FAQ:
- Is a dead hedge safe in a small garden with children or pets? Yes, if you keep sharp bramble canes tucked inside and avoid placing it right next to play areas. Use sturdier stakes so it can’t be pulled over easily.
- Will it attract rats? Not usually, unless you add food waste or place it next to overflowing bird feeders. Keep feeding stations tidy and don’t build the hedge as a substitute compost heap.
- When is the best time to build one in the UK? Autumn through early spring is ideal because you have pruning material and you’re creating shelter ahead of harsher weather and nesting season.
- Do I need to replace it when it rots? You’ll refresh it rather than replace it. As the centre breaks down over years, keep topping up with woody prunings; you can also add new stakes if the originals weaken.
- Can it be used as a boundary fence? It can mark a boundary, but it won’t stop determined pets or provide privacy like a solid fence. Think “habitat edge” rather than “security barrier”.


Comments (0)
No comments yet. Be the first to comment!
Leave a Comment